US/INT


DIY Personalised Napkins with Sunday Lane
Date Posted:10 November 2020
BY SUNDAY LANE
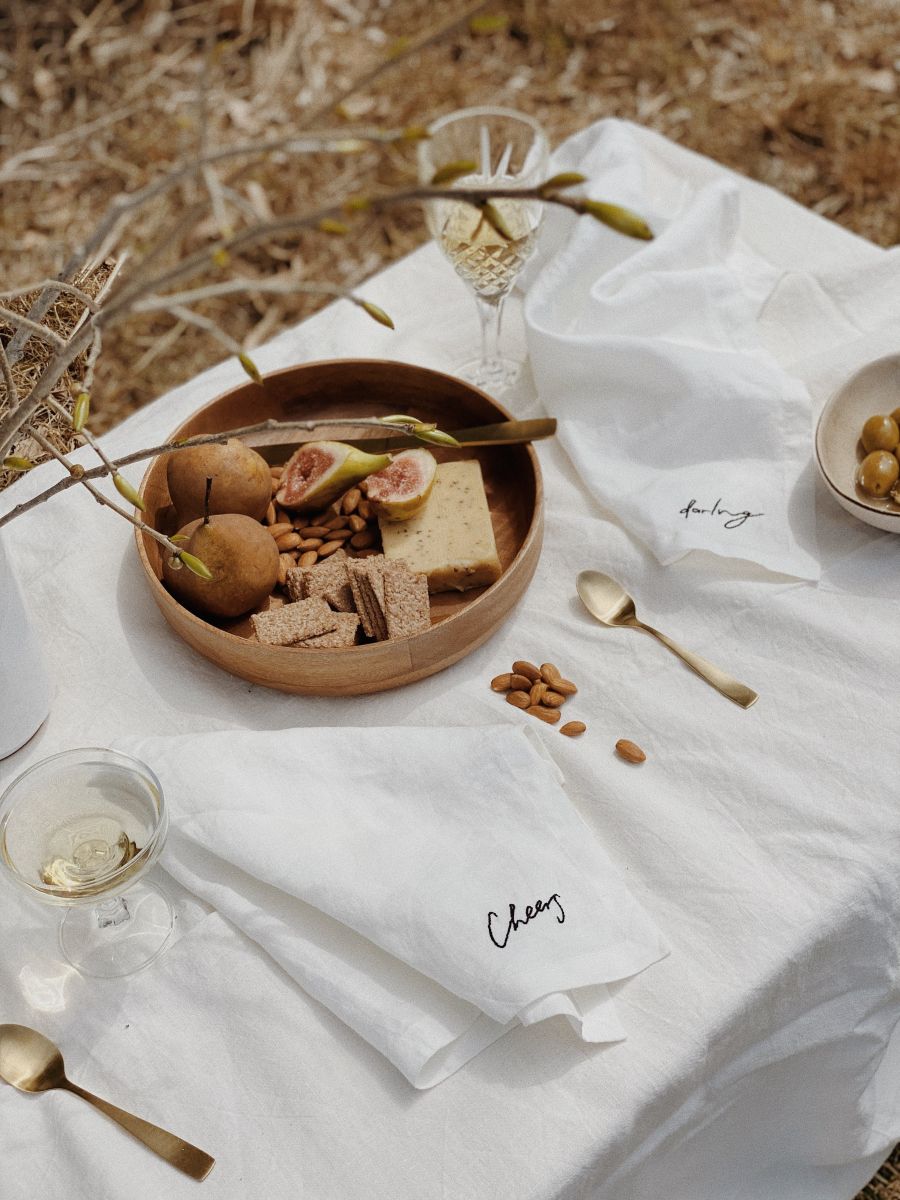
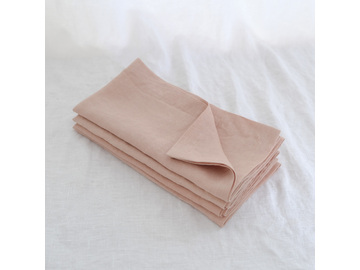
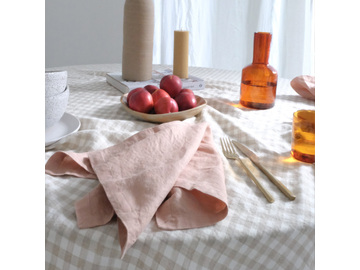
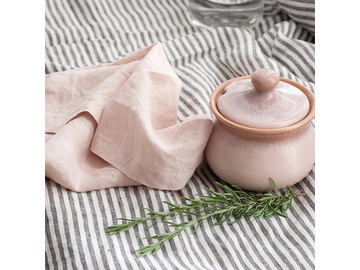
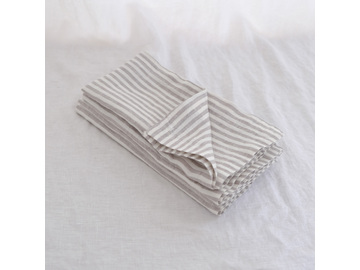
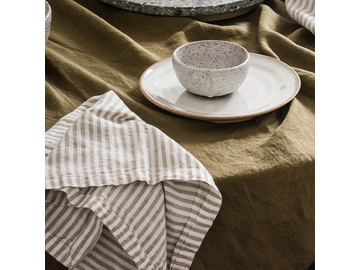
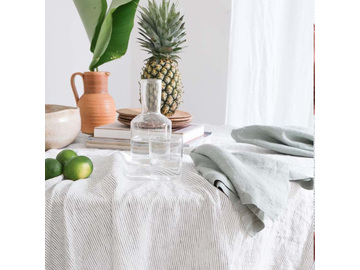
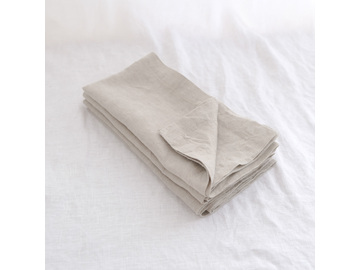
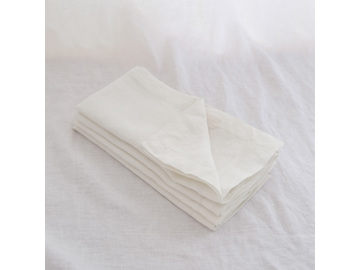
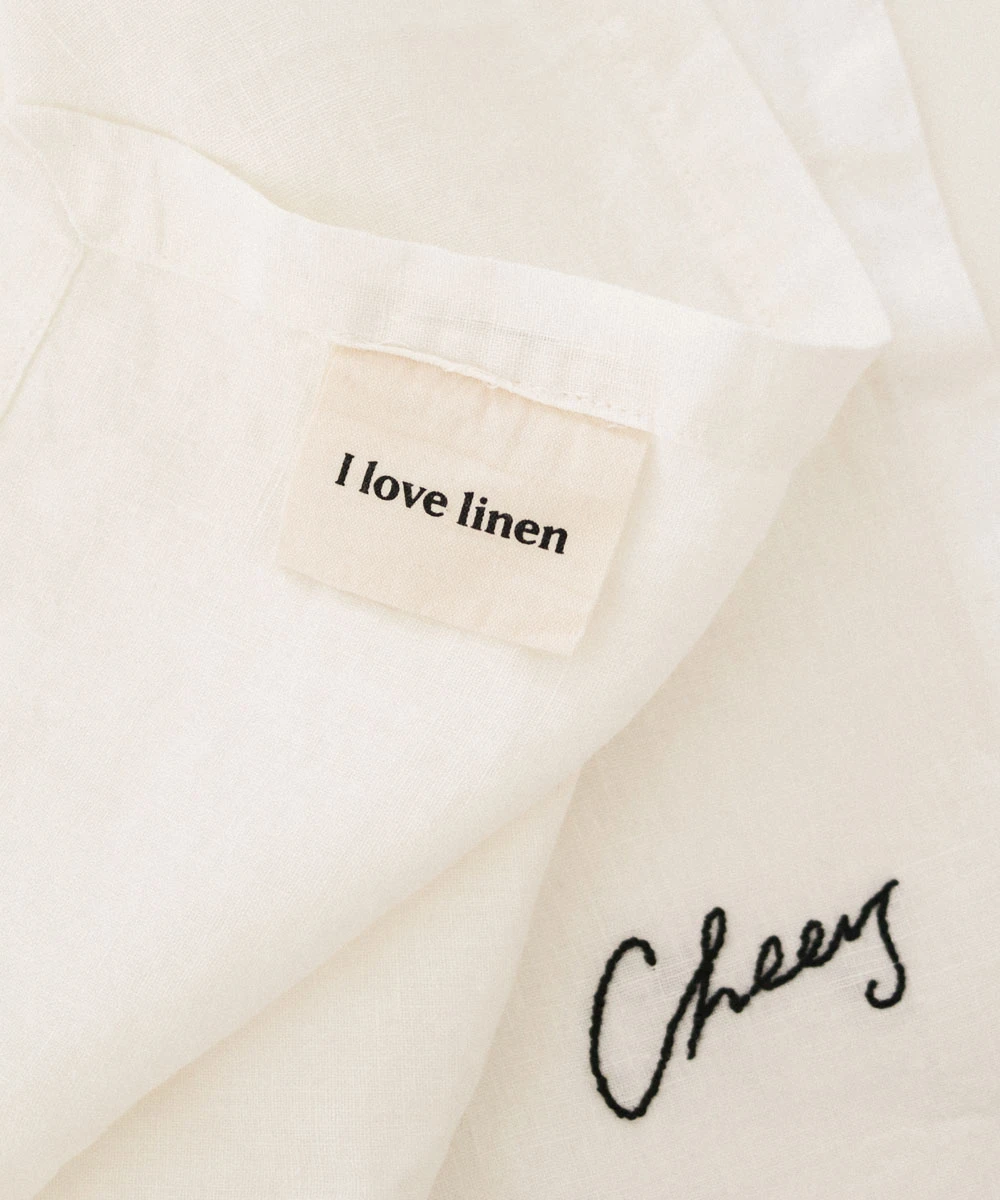
With entertaining season on the horizon we wanted to create a thoughtful addition to our table styling that also doubled as a small gift for our guests. To us, the best made tables are simple, personal, not over-styled and full of layered soft textures. Linen is the perfect base for this look, which is why we wished to combine the notion of personalisation with these classic white napkins from I Love Linen.
For our personalised napkins we applied a single word in handwritten cursive. A sweet idea is also to write the name of each guest, or design your own simple line art such as your favourite bloom or symbol. If you are planning on incorporating this into an upcoming event styling, be sure to plan ahead as whilst it is a small project, it's intricacy can take some time. As an example, we took just under an hour for each napkin.
.jpg)
You'll need:
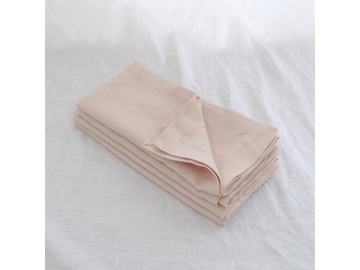
- Linen Napkins
- Pencil
- Embroidery thread and needle
- Embroidery hoop just larger than your artwork
- Scissors
STEP 1
Trace your art onto the napkin using dressmakers chalk or pencil.
STEP 2
Place your fabric into your embroidery hoop with the tracing in the centre. Thread your needle and knot the end.
STEP 3
Sew over your lines using a backstitch. To do this, sew one stitch forward, then when you bring the needle back up through the fabric leave a small gap. Back-stitch over the gap, and again, when you bring the needle back up through the fabric leave a small gap. Essentially you are going one space forward, one stitch back, one space forward, one stitch back... etc.
Tip: You might like to practise this technique on a scrap piece of fabric first if you haven't done it before.
Stitch length: The size of your stitch length can be up to you, depending on the size of your artwork. Generally shorter stitches of about 2mm look the neatest. When sewing around corners you might even like to shorten the stitch length to 1mm so that the line hugs the curve neatly.
STEP 4
Continue this process following the design you have sketched onto the linen. On the last stitch, tie a knot in the thread on the underside of the fabric to secure the stitch.